A Dynamic Simulation of Time
This was my thesis project for my Master’s degree at SMU Guildhall, which I completed in 2021.
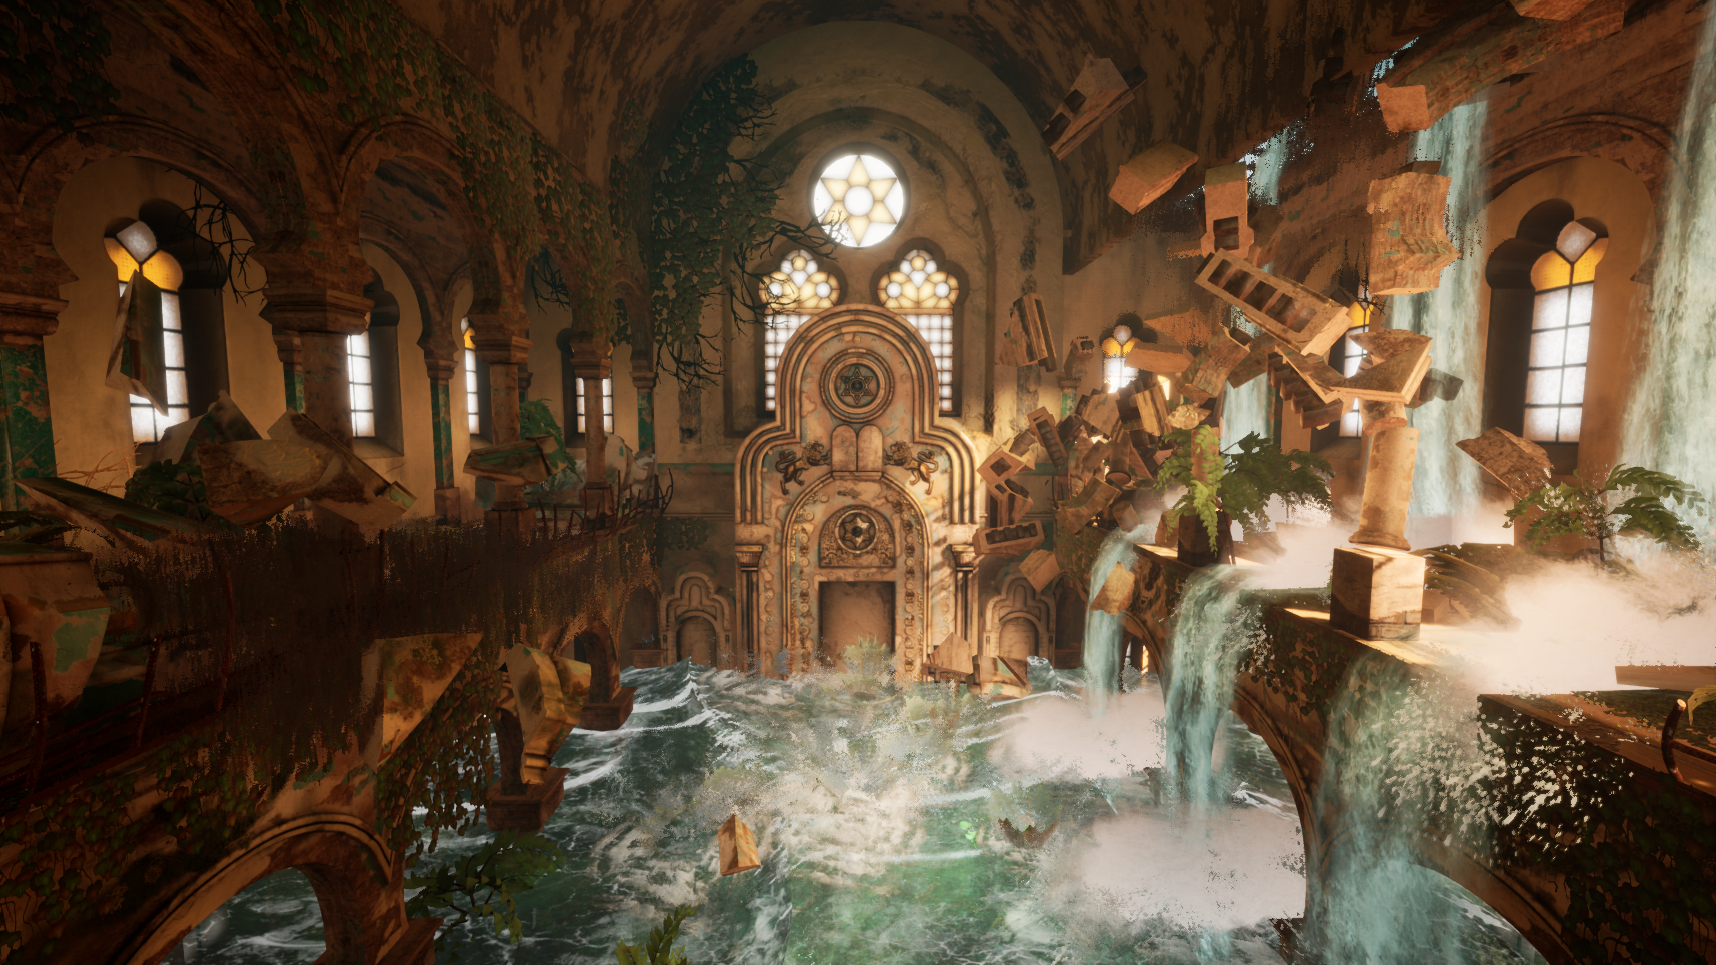
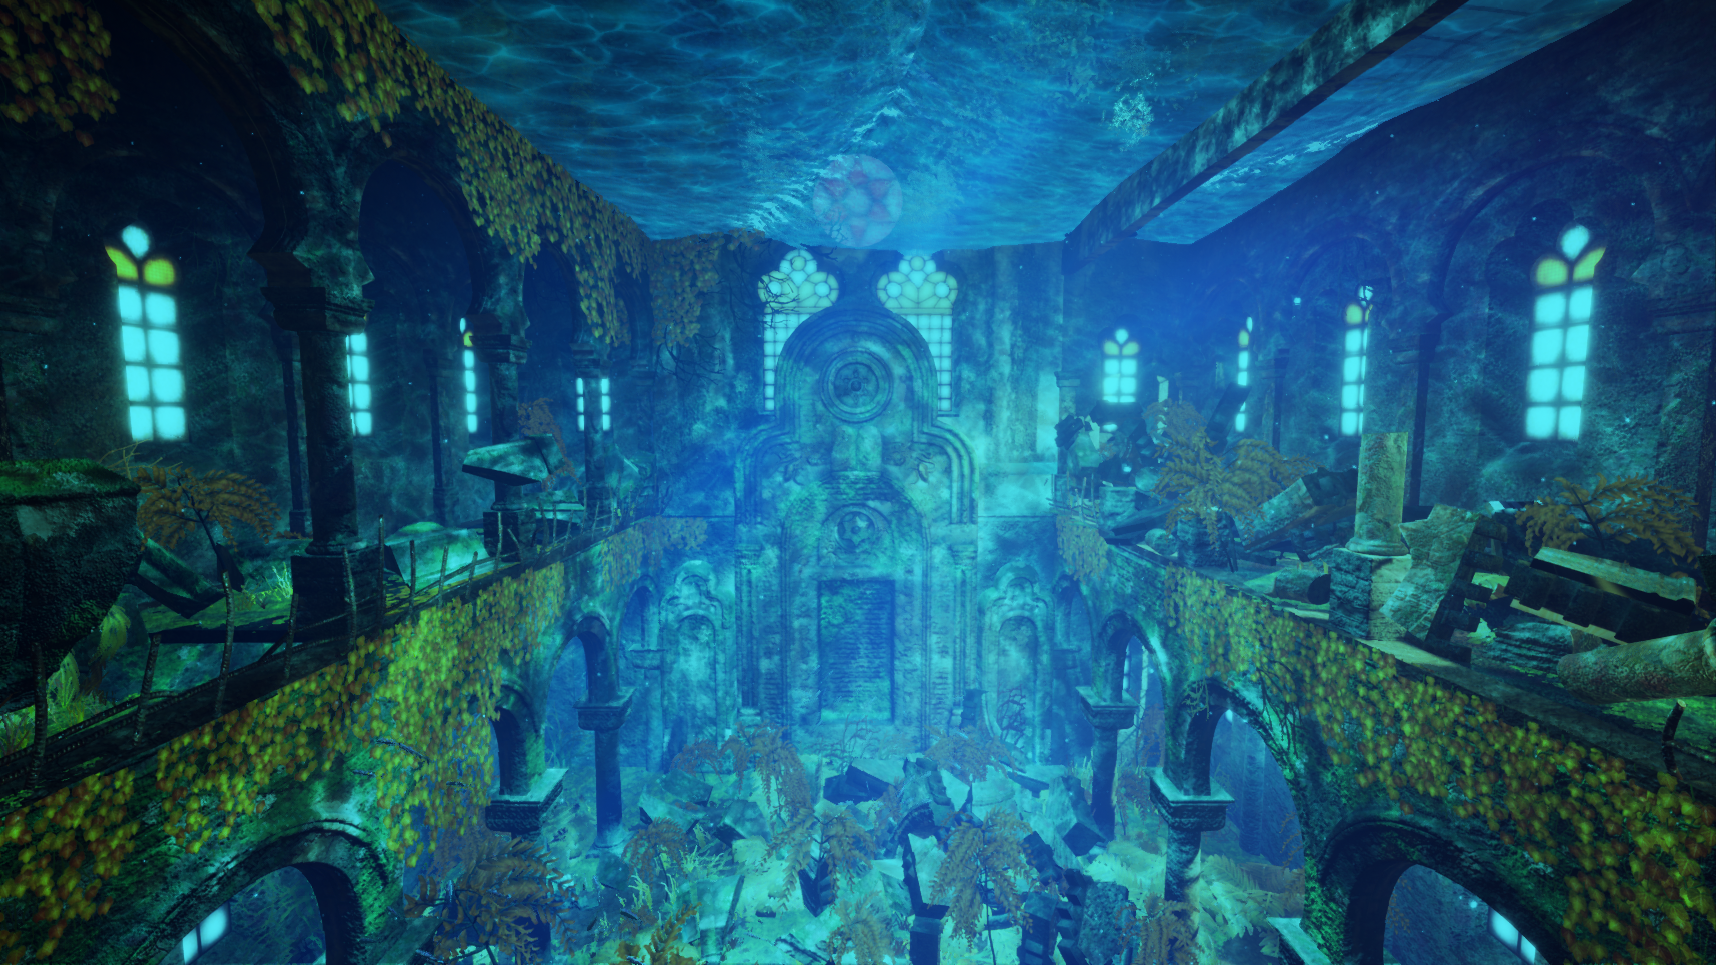
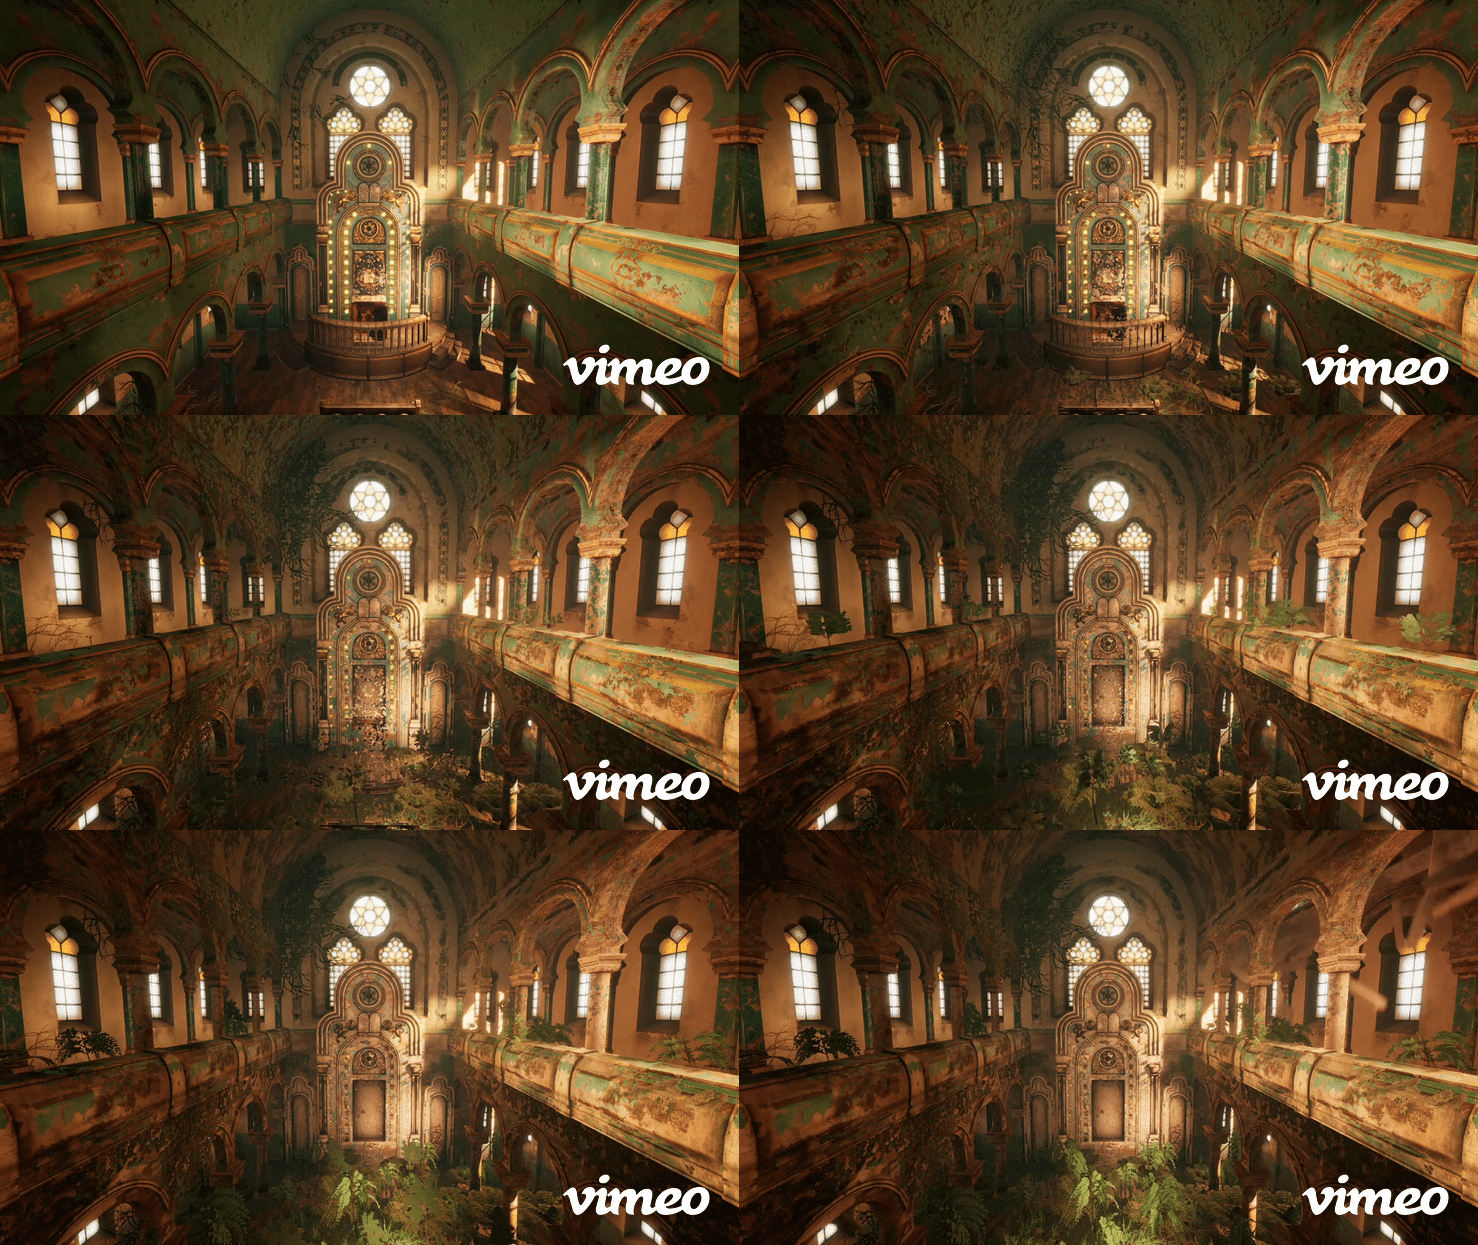
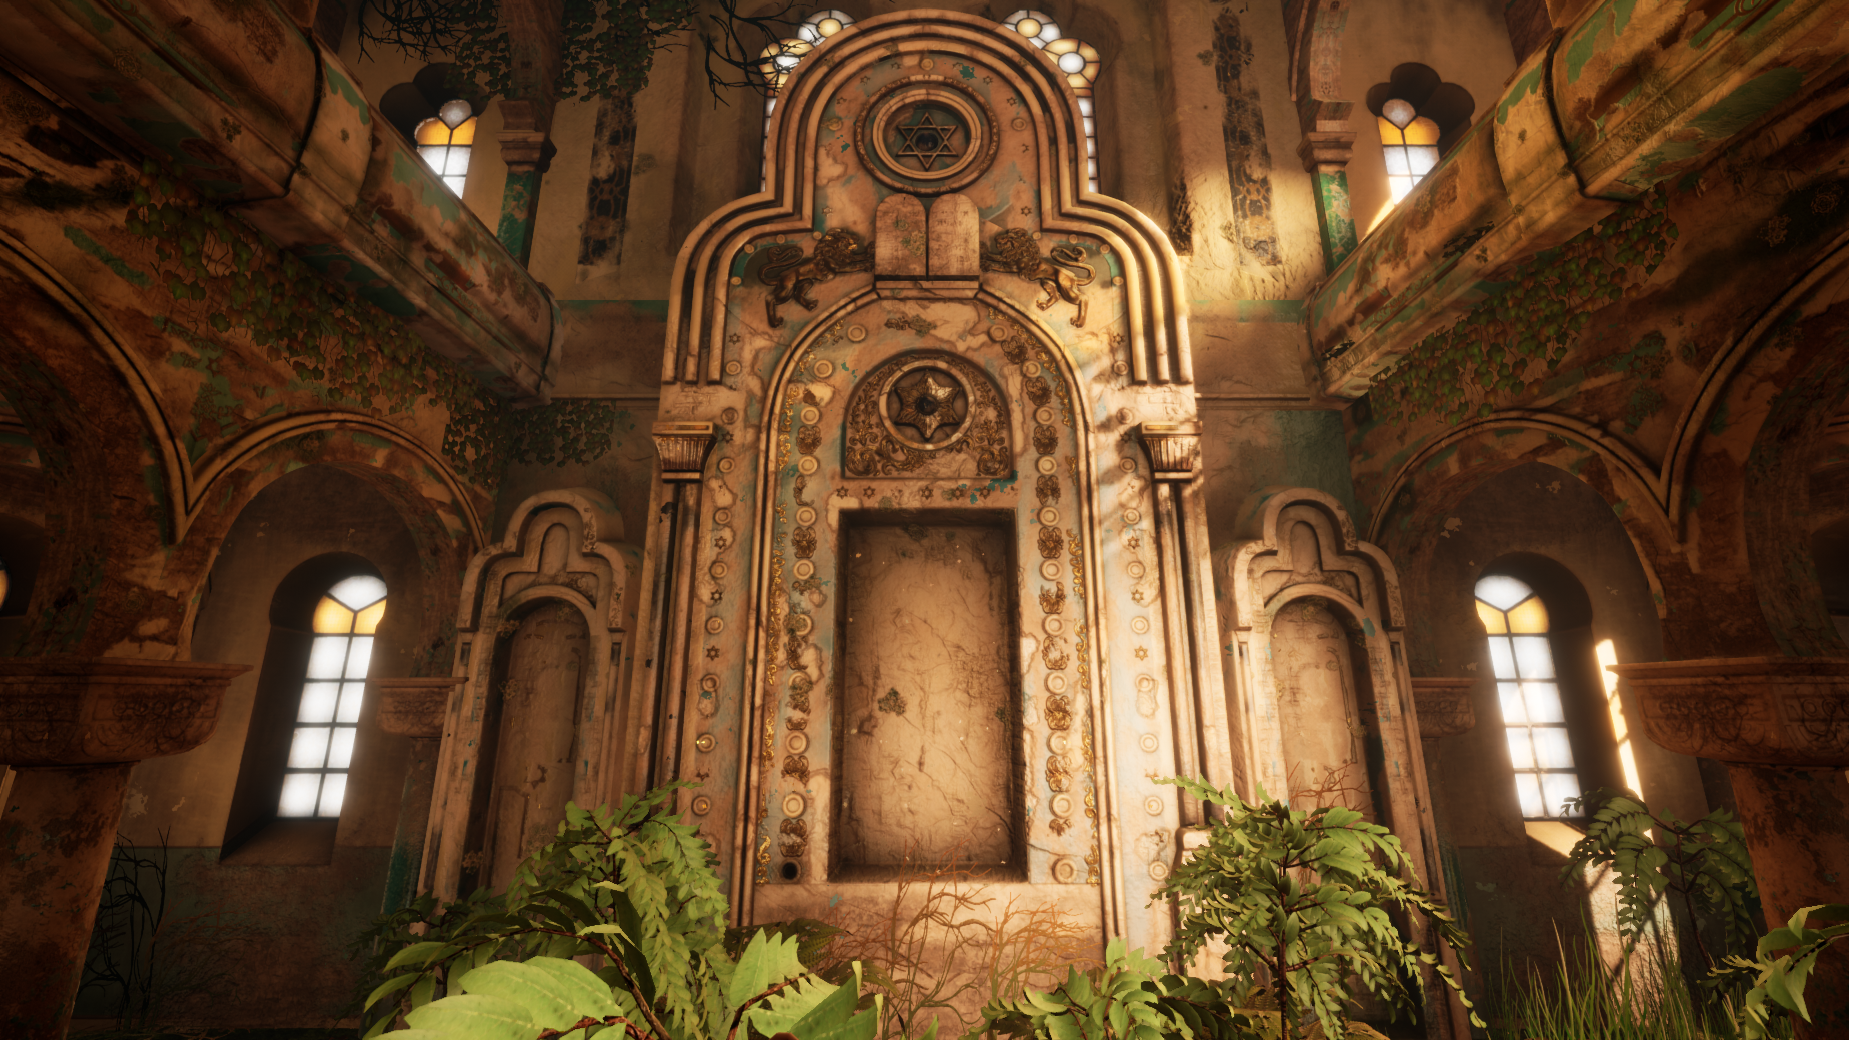
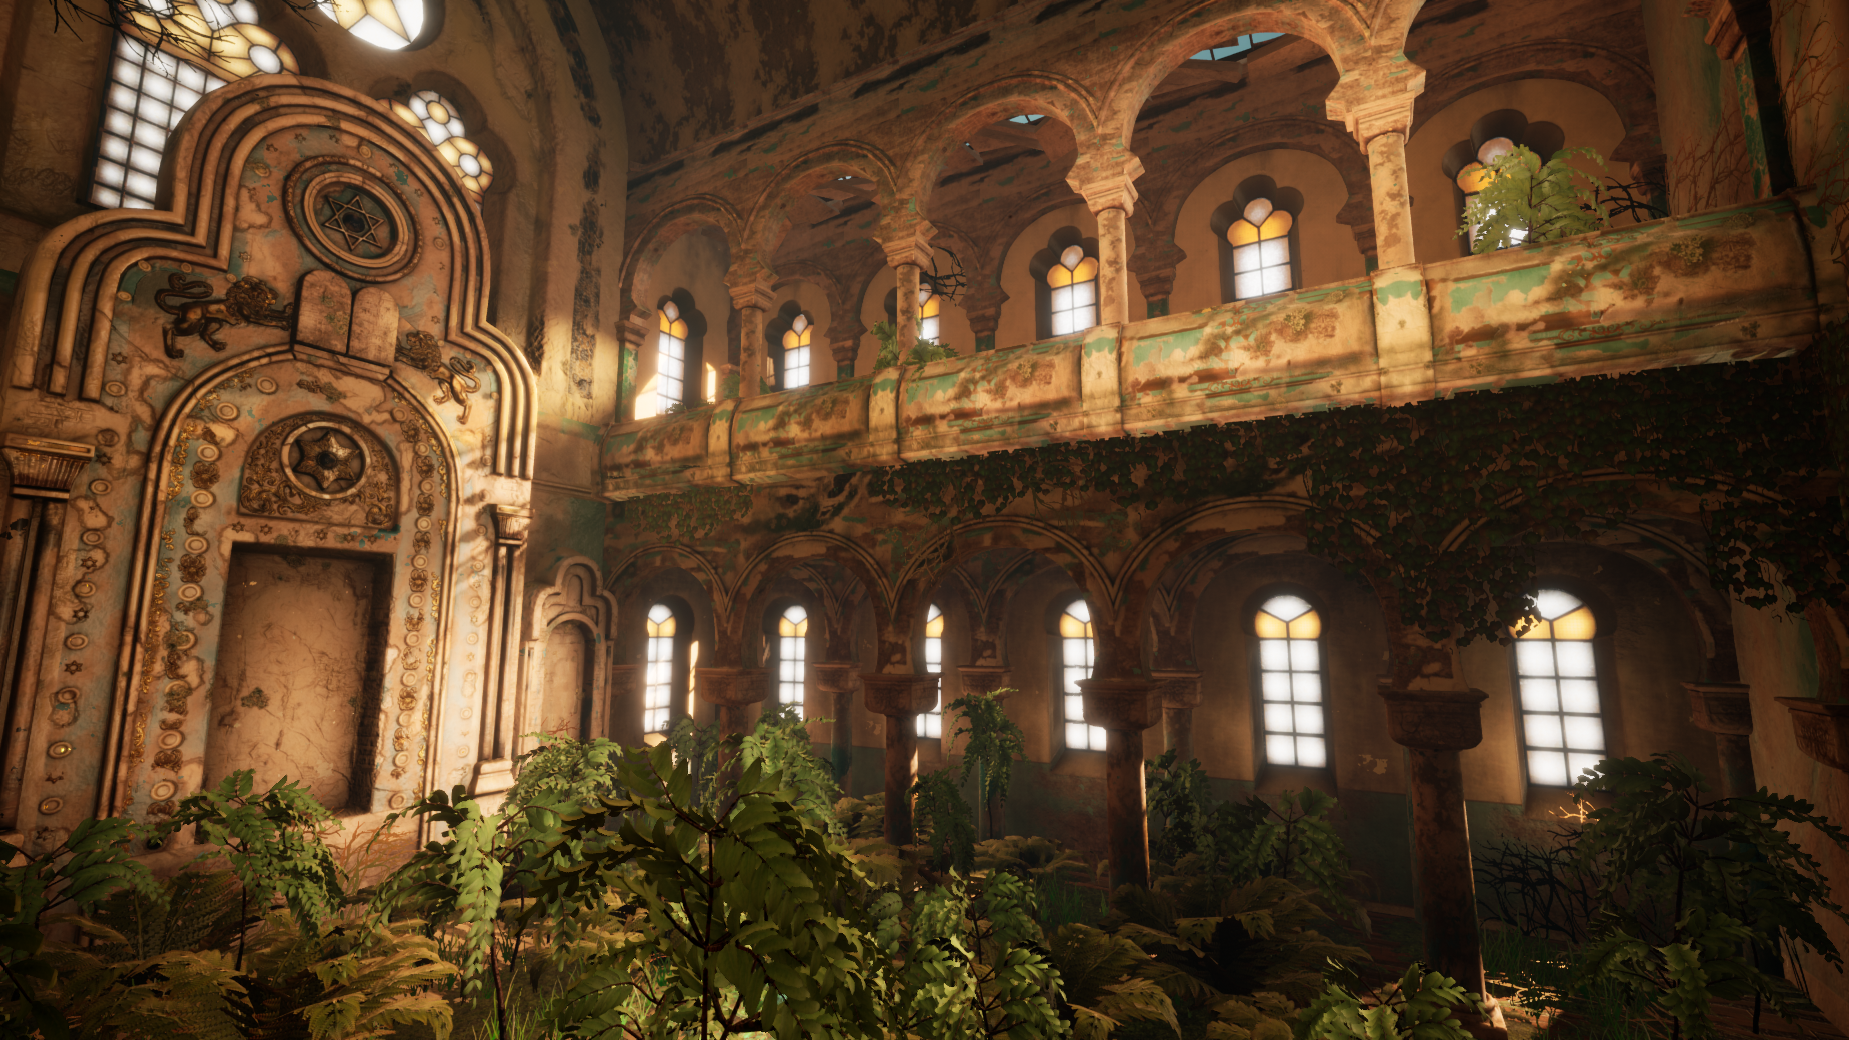
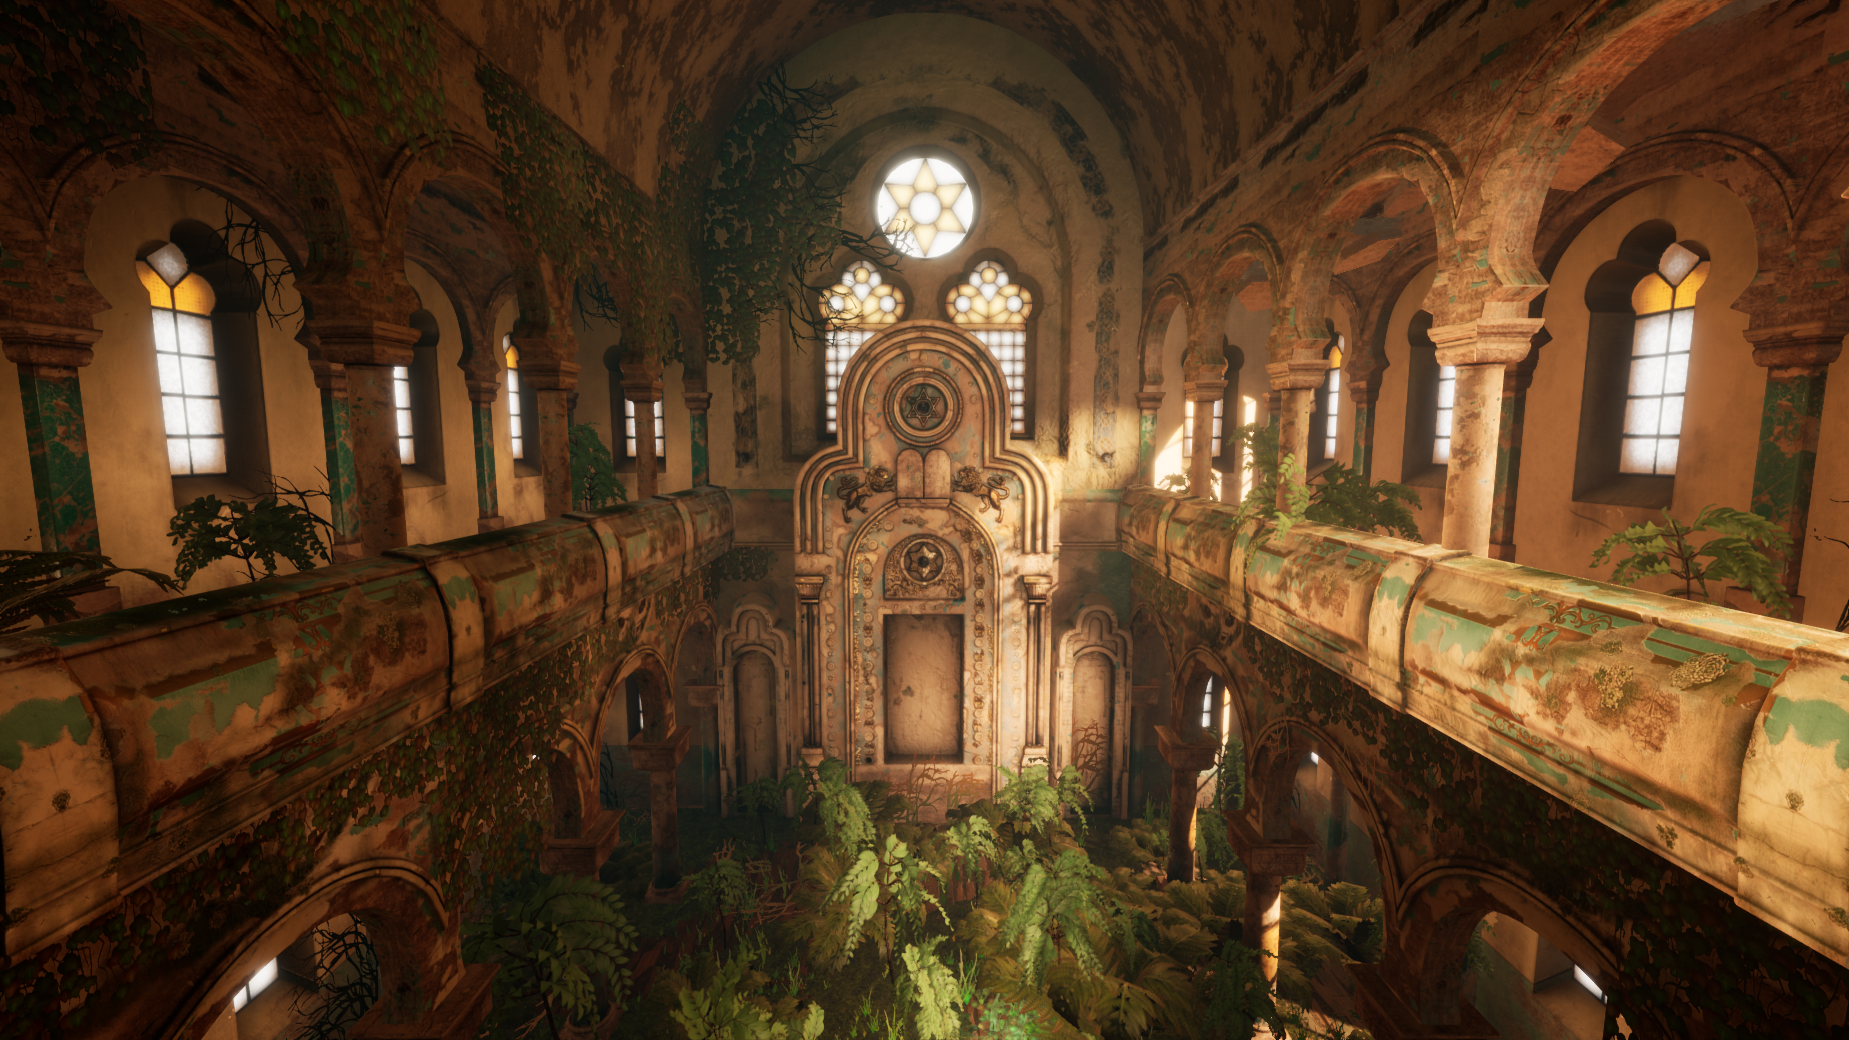
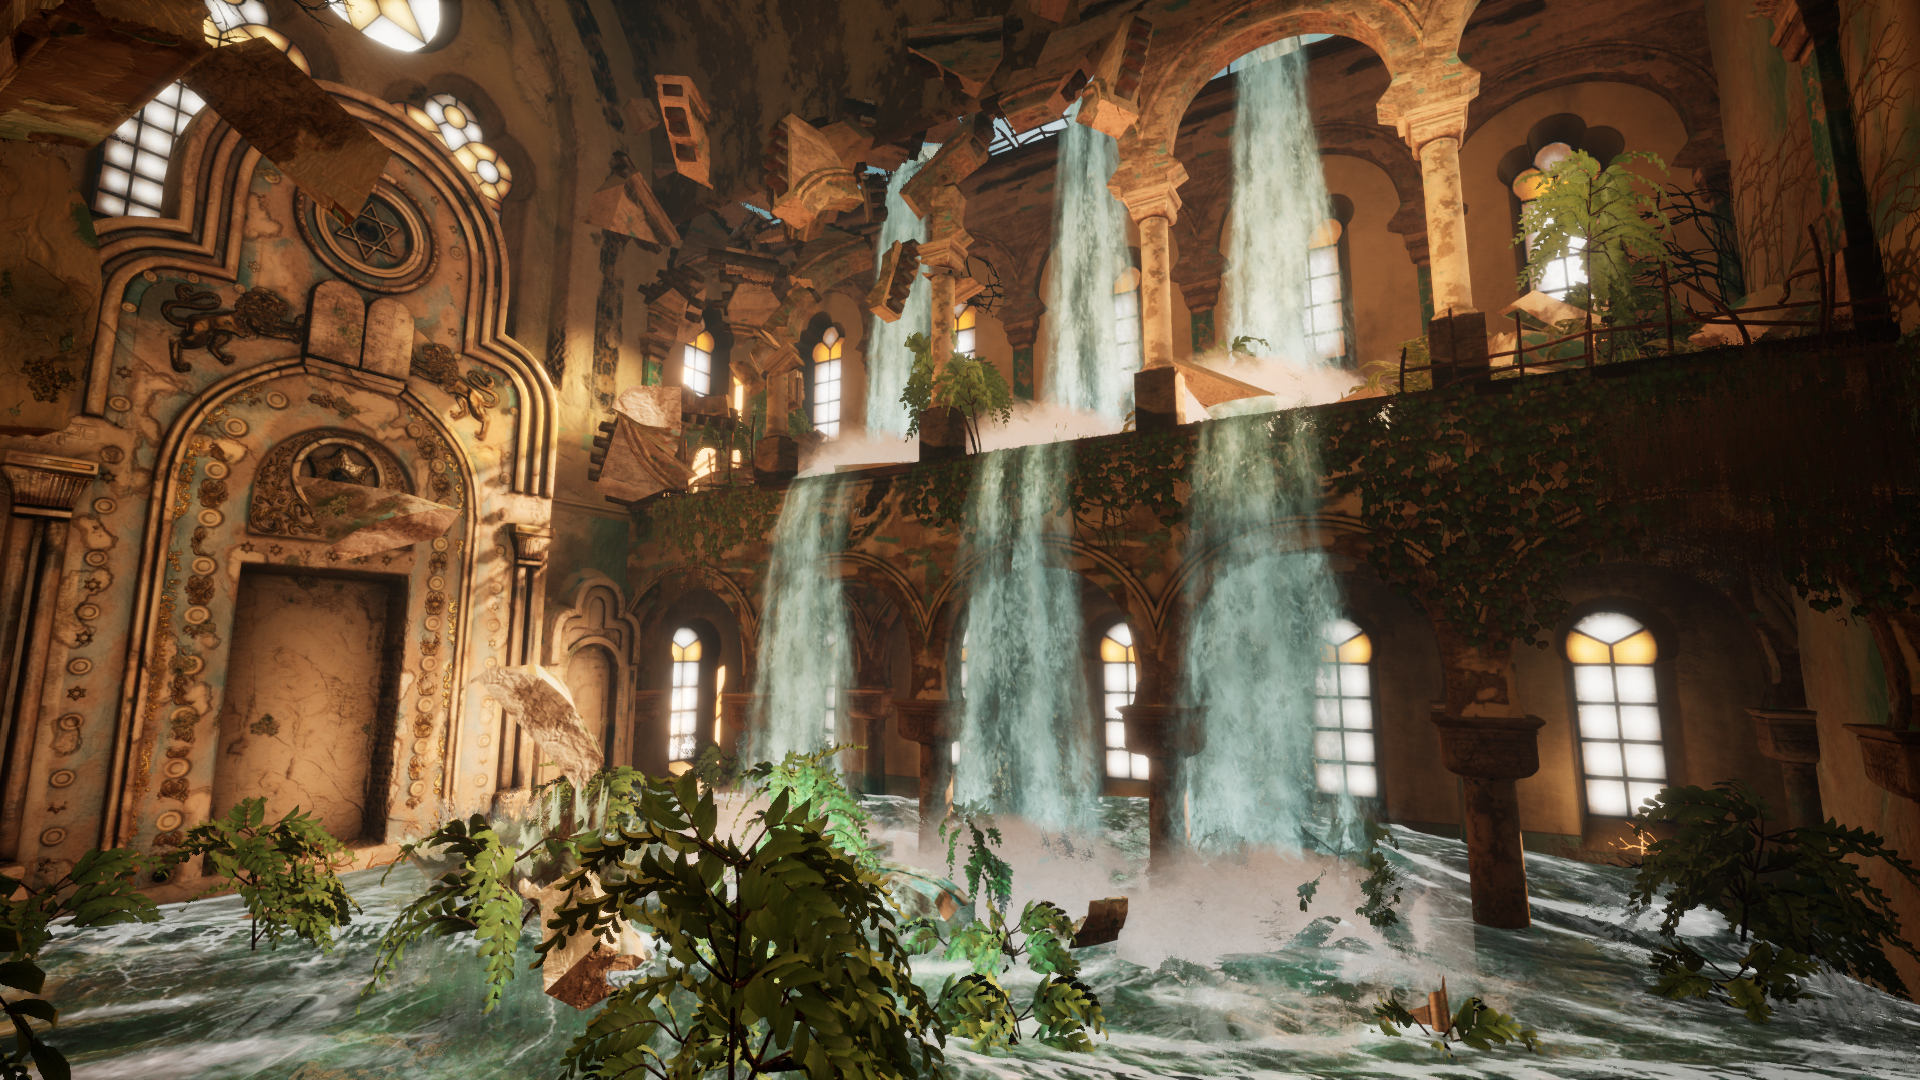
This project is a dynamic simulation of decay and flooding shown through a reconstruction of a real ruined building: the Great Synagogue of Constanta, located in Constanta, Romania. It shows the synagogue starting in a pristine state, transitioning to a decayed and overgrown state, flooding, then decaying more underwater. My goal for this project was to have a smooth transition to each state of decay so it would truly be a simulation of time.
Tools Used: 3DS Max, Substance Designer, Substance Painter, Houdini, and Unreal Engine 4.
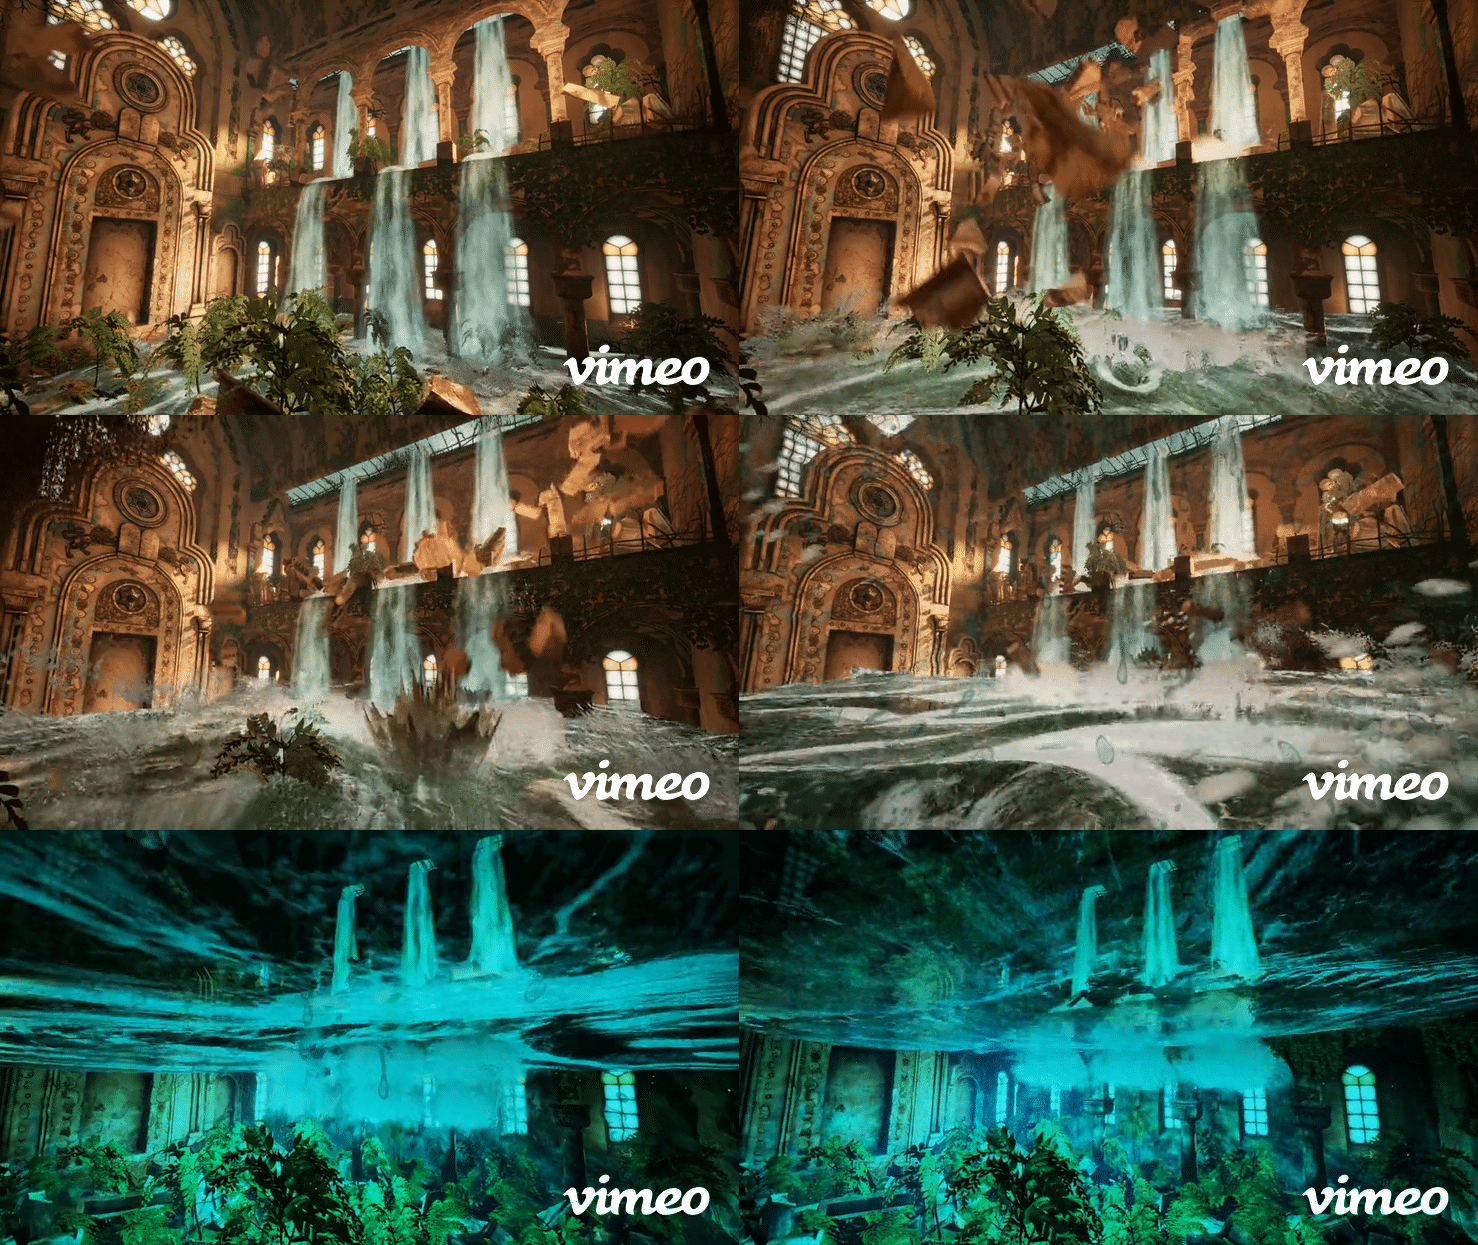
There are 4 stages the scene goes through, pristine, decayed, flooding, and underwater. The state of the real synagogue is decayed with some collapsed portions including the top set of columns and arches. In my scene, I used these caved-in sections as a mechanism for the water to come into the scene. Allowing the pieces of the top archways and columns to fall as the scene floods also allows me to show splashing and ripples which makes the flooding more interesting to watch.
Building Decay
To show the building decaying, there are 3 sets of textures for each mesh: pristine, decayed, and underwater decay. Within the scene, the textures linearly interpolate to the next texture using a world-aligned noise mask to help create a more interesting transition.
The broken pieces for the collapse that occurs as the scene floods were created in Max and exported into Unreal as pieces, assembled in a blueprint, and then “simulate physics” is turned on for the pieces when it is time for the pieces to collapse. For the archways and columns, the pieces fall in a specific order, specified by an index tag.
Pristine Textures
Decayed Textures
Underwater Decay Textures
Mod Kit Meshes
Procedurally Generated Trees
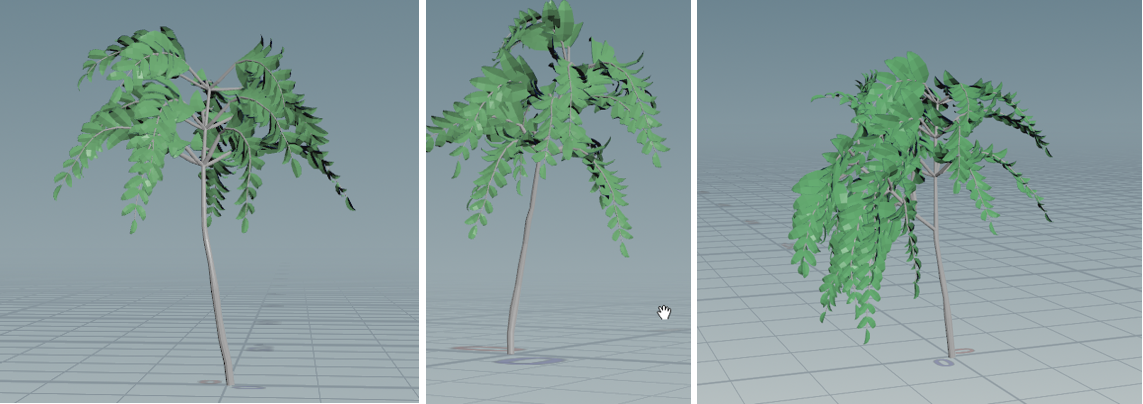
To create the small trees in my scene, I used Houdini’s implementation of Lindenmayer Systems (L-systems), which is a way of modeling the recursive growth patterns of trees through rules. I used this method because if you incorporate elements of randomness in the tree’s rules, the same rules can be used to create many tree variants that look like they are from the same species. It also can be used to create tree growth animations by keyframing the amount of iterations on the rules; I also keyframed the influence of gravity on the L-system as it grows to make it look like the tree is being weighed down by its leaves as it grows.
Tree generated by a set of L-system rules I wrote in Houdini.
L-System Example
Below is a very simple example L-System in Houdini to show how recursive rules can be used to create tree-like patterns:
Creating a young black locust tree using an L-System
Here are some references of the trees overgrowing the real synagogue:
https://abandonedplaygrounds.com/2019/04/10/abandoned-ruins-of-the-great-synagogue-of-constanta/
Results from my L-System rules:
Different random seeds with the same rule set
Increasing the number of generations to show growth
L-System Thought Process
Stage 1: grow upwards with randomized bends for 3 iterations (20% chance of spawning a second main branch on iteration 3)
Stage 2: grow upwards and spawn 5 branches at various angles at the circles – repeat for 2 iterations
Stage 3: On each branch, go forward then spawn leaves symmetrically, then cap the branch with a single leaf at the end.
Optimizing a changing vertex count mesh animation using Houdini Vertex Animation Textures
One challenge of showing the trees growing in the scene was doing it in an optimized way. The mesh created by the L-System growth sequence changes its tri count each frame. Instead of exporting this animation as an Alembic, which can be a very large file and would slow down my scene a lot, I used Houdini’s Vertex Animation Texture tool. This goes through and changes each frame of the animation to be the same tri count and stores the positions/normals of each triangle as textures. It exports a cloud of triangles and a set of textures to show the arrangement of the triangles at each frame. This is a much more efficient way of showing the tree’s growth.
The only downside of this method is that the process destroys the mesh’s UVs, so only vertex color can be used on the mesh as it is growing. I used the vertex color to mask out the leaves from the trunk and used world aligned textures to give it a bit more variation than a solid color. When the tree is fully grown, it gets swapped out for the UVed, textured tree mesh with optimized leaves.
Tree mesh without position textures
Dynamic Water
To create the flood in my scene, I used a combination of a rising water plane with a reactive water material, a waterfall mesh with morph targets, and a variety of particle effects.
For the reactive water material, I started by creating a ripple solver by using render targets to create ripple height maps at a point of impact. Unreal’s documentation for creating a reactive fluid surface: https://docs.unrealengine.com/en-US/Engine/Rendering/RenderTargets/BlueprintRenderTargets/HowTo/FluidSurface/index.html.
To add more displacement, I blended in some noise and Gerstner waves.
Splashes
In addition to the ripples on impact, I also created a splash particle to spawn on the position of overlap
Waterfall
The waterfall is a mesh with a morph target that allows it to recede or extend so that it can recede as the water level rises. To create the waterfall material, I used a panning water texture combined with two panning emissive textures panning at different rates. I also distorted the UVs of the emissive textures using another panning texture, which gives the waterfall more movement.
The waterfall has two particle effects, a fog which sits at the base of the waterfall, and a bubble effect which shoots bubbles beneath the waterfall as the water rises.
Underwater Effects
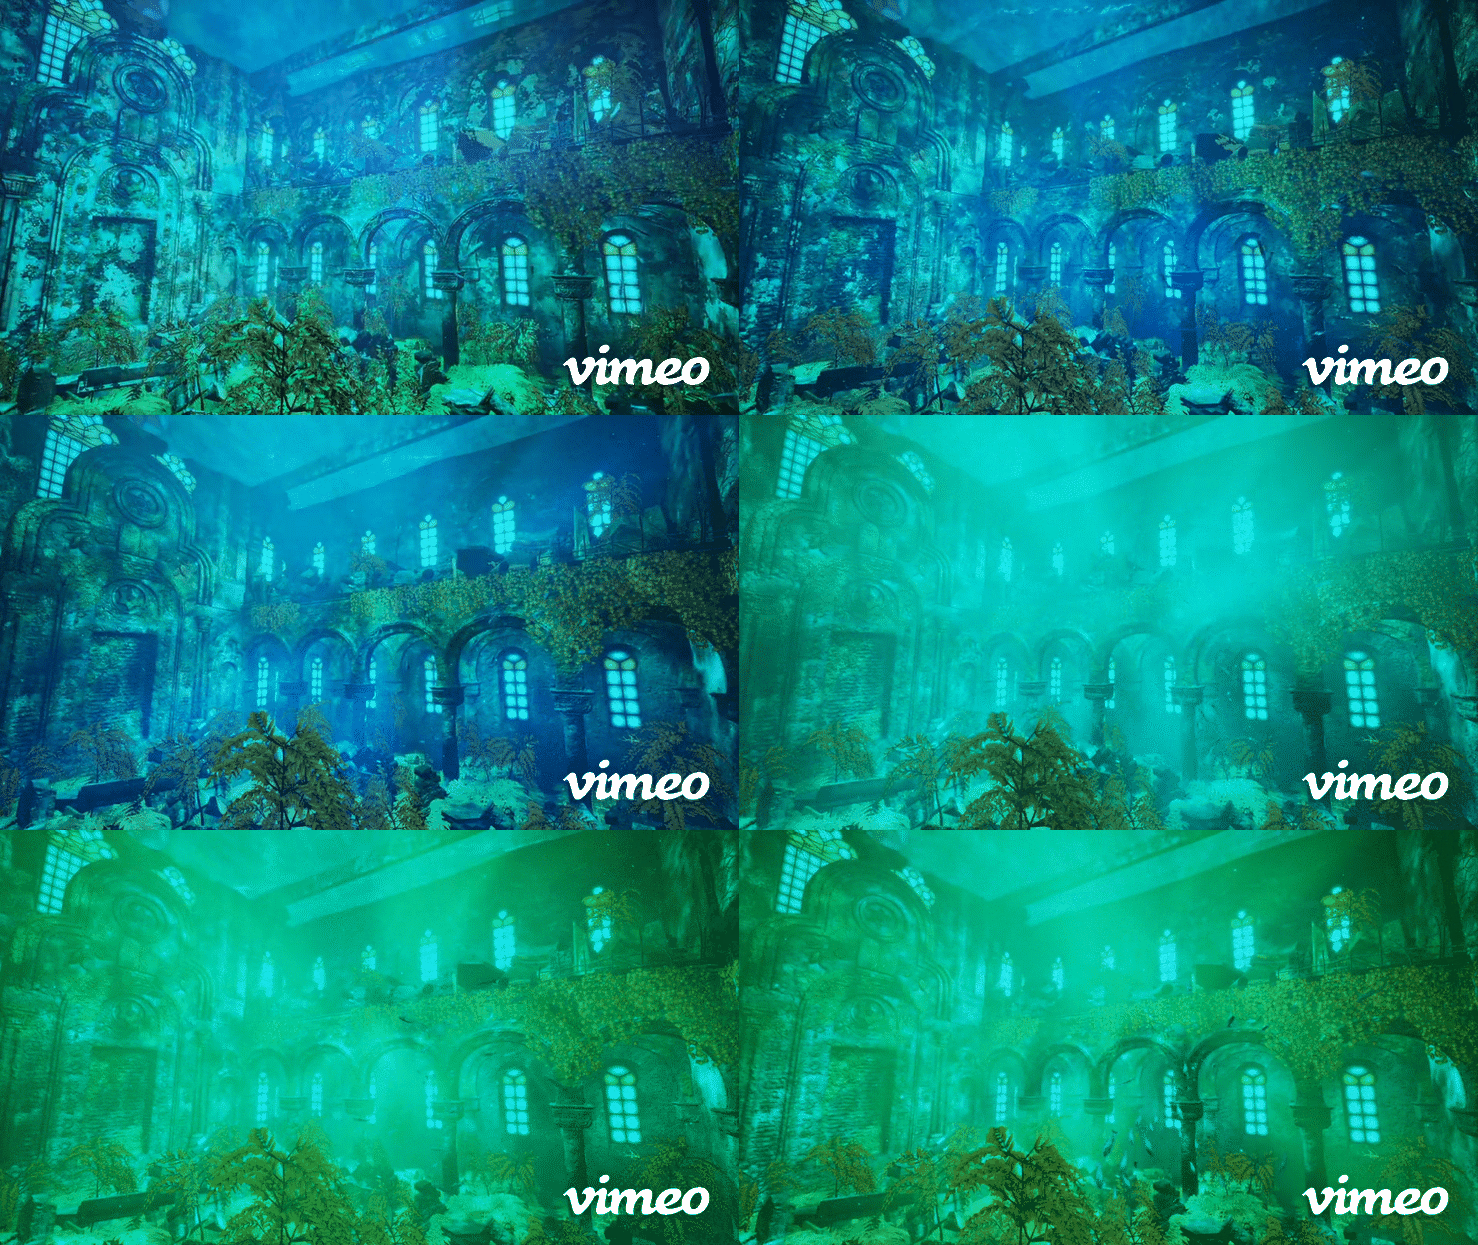
To create the underwater effects in my scene, I used a post-process material to change the color of the scene, added some local color-changing volumetric fog, some floating particles, and a fish particle system.


